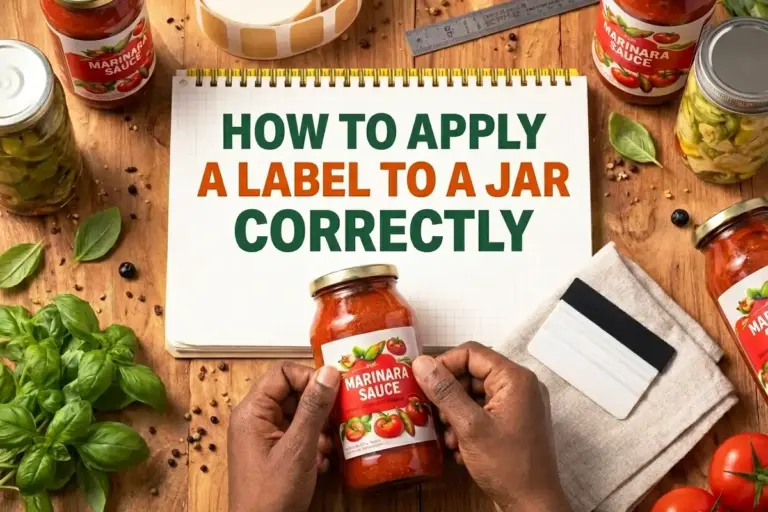
How to Apply a Label to a Jar Like a Pro (No Bubbles, No Stress)
You poured your heart into that jar. The candle, the jam, the soap, the honey… it took hours of work and a little bit of love. Then you slap the label on, and it’s crooked. Or there’s a giant air bubble sitting right in the middle of your logo. Suddenly, your beautiful product looks like it was made in a rush, not made with care.
If you’ve ever wondered how to apply a label to a jar so it looks smooth, straight, and proud sitting on a shelf, you’re not alone. The good news? It’s a simple skill. You just need the right steps, the right tools, and a little patience. Let’s fix that crooked label problem once and for all.
Why Getting This Right Matters More Than You Think
A label is the first thing people see. It is your handshake. It tells your customer “this was made with care” before they even open the jar.
A wrinkled, bubbly, or crooked label sends the opposite message. It says “rushed,” even if what’s inside is amazing. People judge a jar in about three seconds. That’s it. Three seconds to decide if it looks trustworthy enough to buy or pick up.
This is exactly why the best way to label glass jars isn’t just about looking pretty. It’s about earning trust the moment someone’s eyes land on your product.
2 Things You Need Before You Apply a Label to a Jar
Good labeling starts before the label even touches the jar. Skip these two parts, and nothing else will save you.
1) Clean and Dry the Jar First
Dust, fingerprints, and tiny bits of grease are the enemy of a sticky label. Even a jar that “looks clean” can have an invisible layer of oil on it from your hands.
Wipe the jar down with a lint-free cloth and a little rubbing alcohol. Let it dry completely. This one small step is the secret most people skip, and it’s the reason their labels peel off a few weeks later.
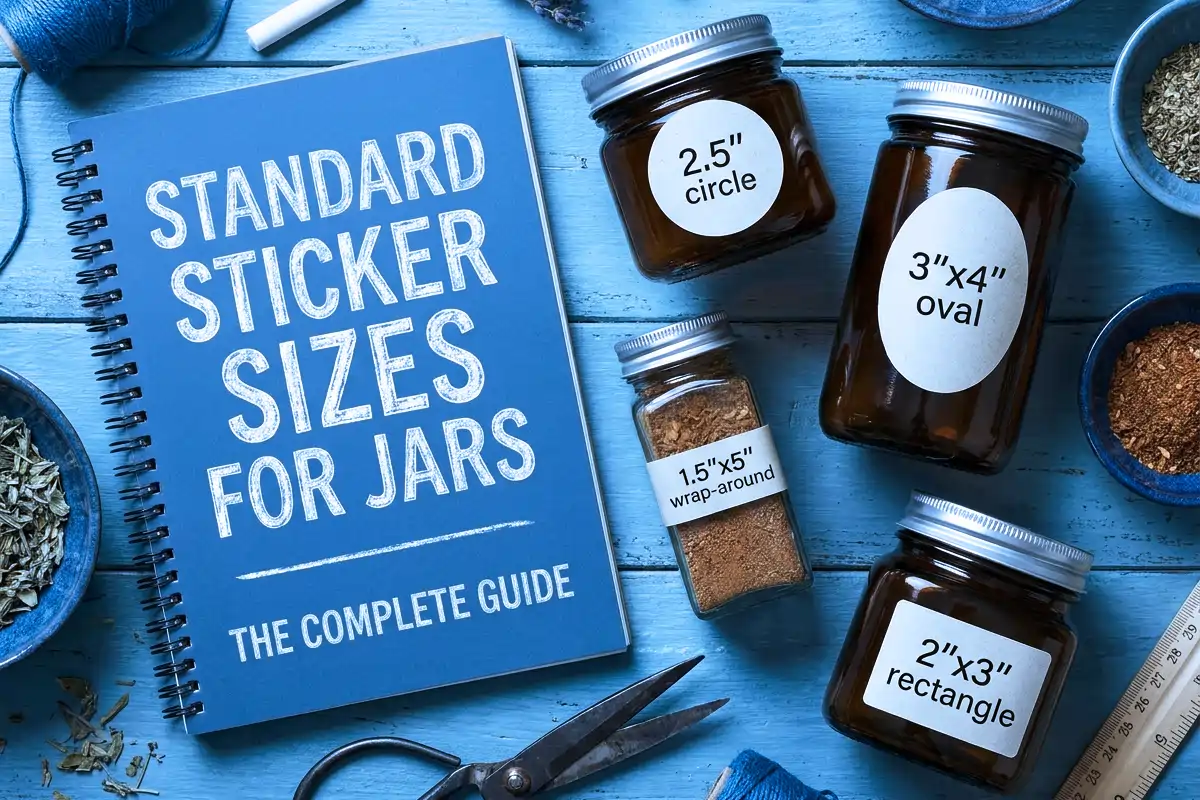
2) Choose the Right Label and Adhesive
Not every sticker is made for glass. Some are made for cardboard boxes, and they just won’t hold up on a jar.
For jars, look for:
- A strong, jar safe label adhesive for glass jars
- A material that can handle moisture, like vinyl or BOPP
- A finish that resists fading if the jar will sit near sunlight or get touched a lot
If your jar will go in the fridge, freezer, or near steam (think jams, sauces, or bath products), pick a waterproof label. Paper labels look nice, but they can wrinkle the second they meet condensation.
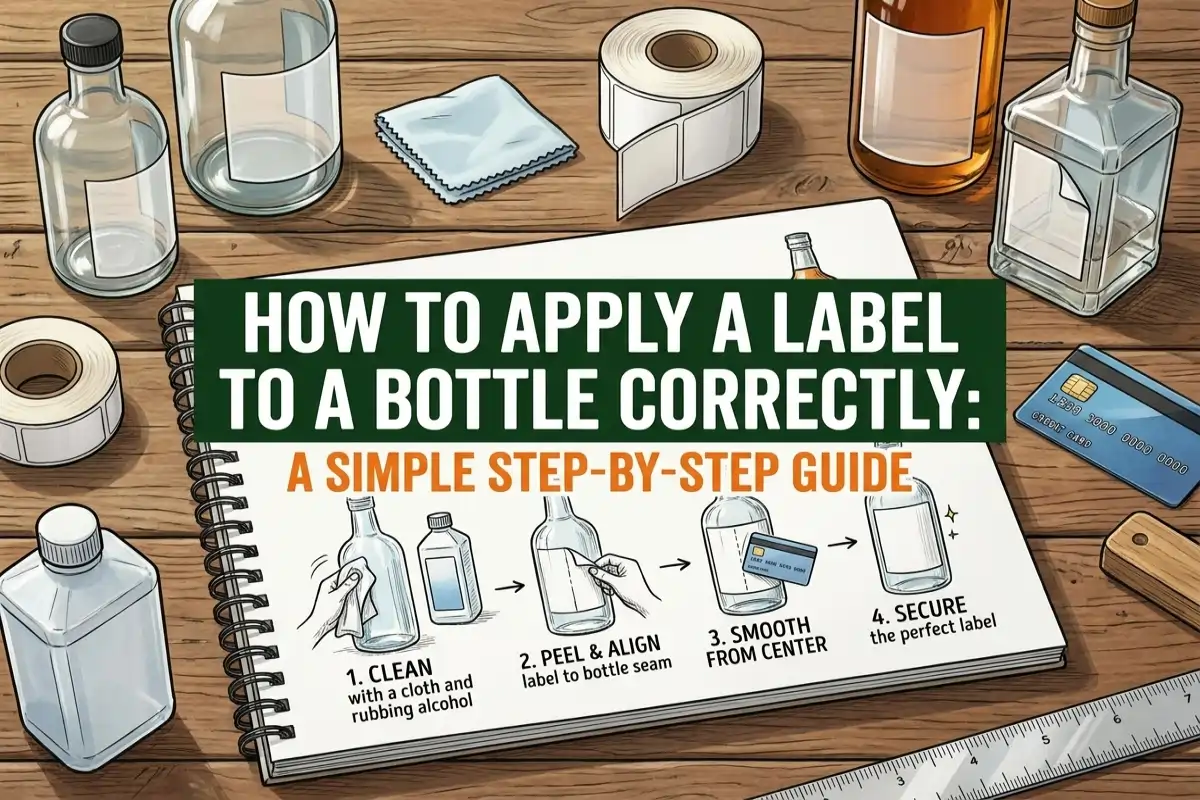
How to Apply a Label to a Jar, Step by Step
Here is the simple process, the same one used by people who label hundreds of jars a week.
- Clean the jar: Wipe away dust, oil, and fingerprints. Let it fully dry.
- Find your placement: Hold the label against the jar first, without removing the backing, to see where it will sit.
- Peel back just a little: Don’t pull the whole liner off yet. Peel back about an inch of the backing paper.
- Stick the top edge first: Line it up straight, then press that top part down gently.
- Smooth it down slowly: As you peel the rest of the backing away, smooth the label down inch by inch with your fingers or a soft tool.
- Press firmly from the center out: Push from the middle of the label toward the edges. This pushes air out instead of trapping it.
- Give it a final smooth: Run your hand or a flat tool over the whole label one more time.
That’s it. Slow and steady beats fast and sloppy every single time.
How to Apply Labels to a Jar Without Bubbles
Bubbles are the number one thing that makes a handmade jar look messy. Here’s how to keep them away.
- Work from the middle out, never from the edges in. Pushing air toward the edges lets it escape instead of getting trapped.
- Use a small, flat tool, like a credit card, a bone folder, or even a clean popsicle stick, to smooth as you go.
- Go slow. Rushing is the number one cause of bubbles. Give yourself the extra thirty seconds.
- If a bubble sneaks in anyway, gently lift that small section with a pin, press the air out, and smooth it back down.
A tiny bubble right at the very edge is not the end of the world. A big one across your logo is what to avoid.
Labeling Jars at Home: Simple Tools That Make a Big Difference
You don’t need fancy machines to get great results. A few small helpers go a long way when labeling jars at home.
- A bone folder or an old credit card to smooth out air and wrinkles
- A ruler or strip of tape as a placement guide, so every jar matches
- A lint-free cloth and rubbing alcohol for cleaning
- A turntable or lazy susan to spin the jar steadily while you apply a curved label
If you’re labeling a big batch, a simple tabletop label applicator can save your hands and your sanity. But for smaller batches, your own two hands and a little patience work just fine.
How to Apply Labels Evenly on Curved Jar Surfaces
Jars are round. Labels are flat. This is where most people struggle.
The trick is to apply labels evenly on curved surfaces by letting the label “wrap” gently instead of stretching it. Start at one point, usually the center back of the jar, and smooth outward in both directions at the same time. This spreads the curve evenly instead of pulling the label tight on one side.
For wraparound labels that go all the way around, use a turntable. Hold the label loosely against the jar, spin slowly, and let your fingers smooth it as the jar turns. Going too fast leaves wrinkles. Going slow gives the label time to settle into the curve.
Common Mistakes That Ruin a Good Label
Even careful people fall into these traps. Watch out for:
- Skipping the cleaning step. Oil and dust under a label cause it to lift later.
- Pulling the label tight. Stretching it now means it will shrink back and wrinkle later.
- Rushing the smoothing step. This is the top cause of trapped air bubbles.
- Using the wrong adhesive for cold or wet jars. Fridge jars need a stronger, waterproof hold.
- Applying labels in a cold room. Adhesive sticks best at room temperature. A cold jar can stop the glue from bonding well.
Avoiding these five mistakes puts you ahead of most home labelers right away.
When It’s Time to Let the Experts Take Over
Learning how to apply a label to a jar by hand is a wonderful skill, and it works great for small batches and gifts. But as your jam business, candle line, or skincare brand grows, hand applying hundreds of labels one by one becomes a lot of time and a lot of room for mistakes.
This is exactly the moment to bring in a printing partner who understands jars, adhesives, and curves the way you understand your product.
Final Thoughts
A jar tells a story before anyone reads a single word on it. A smooth, straight, bubble free label says, “This was made with care.” A crooked, wrinkled one says “rushed,” even when that’s far from the truth.
The steps are simple. Clean the jar. Choose the right adhesive. Go slow. Smooth from the middle out. Use the right tools for curves. Small steps, but they make a big difference in how proud you feel handing that jar to a customer.
If you want every single jar to look like it rolled off a professional line, even if you’re making them by hand, Accuxel Prints and Design is here to help. From custom label materials built for glass, to adhesives made for fridges, freezers, and steamy kitchens, we design labels that stick beautifully and look stunning from the very first jar to the thousandth.
Reach out to Accuxel Prints and Design today, and let’s create labels your jars, and your customers, will love.