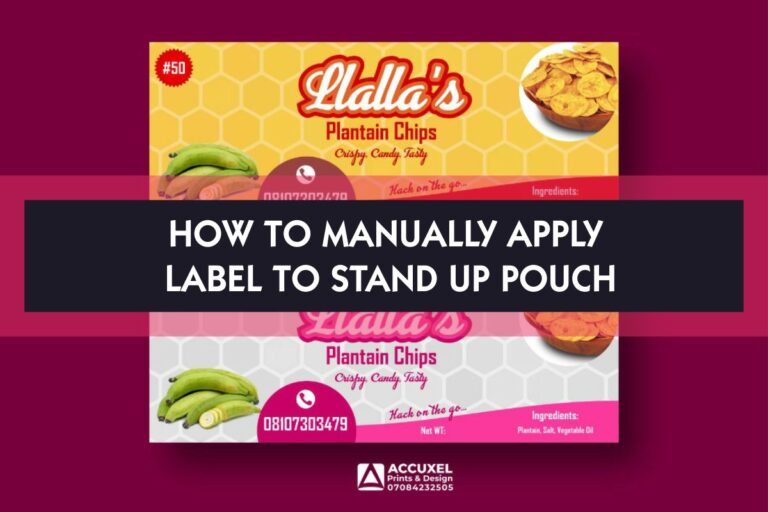
One key part of ensuring stand up pouches grab attention and clearly communicate the necessary product information is applying a well-designed label. While some businesses use machines to apply labels, many small businesses and individuals prefer the manual method for its affordability and control.
Manually applying labels to stand-up pouches may sound tricky, but with a few simple steps and a bit of patience, it can be done efficiently. In this guide, we will walk you through the process, making sure it is easy to follow so you can achieve a professional look, even without fancy machines.
How To Manually Apply Label To Stand Up Pouch
1. Gather the Necessary Materials
Before starting, make sure you have everything you need. The tools are simple, but having them all in place will make the process smoother. Here’s a list of items you’ll need:
• Stand-up pouches (make sure they are clean and dry)
• The printed Labels
• A flat surface or table
• A ruler or measuring tape
• A soft cloth or plastic card (to smooth out air bubbles)
• Masking tape or other guides to help with alignment
Want To Print Something?
2. Ensure the Label is the Right Size
It’s important to make sure the printed labels is the right size that fit the stand-up pouches you’re using. If your label is too big, it might fold over the edges or look unprofessional. If it’s too small, it may not stand out or display all the necessary information.
Measure the flat area on the front of the pouch where the label will be placed. Make sure the label size you’ve chosen fits well within this space, leaving a little margin at the edges so that it doesn’t wrap around. This ensures the label is fully visible from the front.
3. Clean the Surface of the Pouch
Before applying any label, make sure the surface of the pouch is clean and free from dust, oil, or moisture. Any debris on the pouch can affect how well the label sticks, leading to peeling or bubbling over time.
Use a dry cloth to gently wipe down the pouch, especially the area where the label will go. If the pouch feels greasy, lightly dampen the cloth with water and a bit of mild soap, then dry it thoroughly. The cleaner the surface, the better the label will adhere.
4. Measure and Mark the Placement
To ensure your label is applied straight and in the right position, it helps to measure and mark where it will go. This will prevent crooked or misaligned labels, which can make the packaging look unprofessional.
Using a ruler or measuring tape, measure the center of the pouch and mark the top and bottom points lightly with a pencil or small piece of masking tape. These marks will act as guides, ensuring your label is centered and straight.
5. Peel and Position the Label
Once your pouch is ready and you’ve marked the placement, it’s time to apply the label. Start by peeling off the backing of the label carefully. Be sure to handle the edges of the label, avoiding touching the adhesive side as much as possible to keep it sticky.
Hold the label by the edges and line it up with the marks you’ve made on the pouch. Start by positioning the top edge of the label, making sure it is straight and aligned. Once you’re satisfied with the position, lightly press the top part of the label onto the pouch.
6. Smooth the Label to Avoid Bubbles
After the top of the label is in place, slowly press the rest of the label onto the pouch, moving downward. Use your fingers or a soft cloth to smooth it out as you go. This helps avoid air bubbles, which can make the label look uneven or cause it to peel off later.
Work from the center of the label outward, pressing firmly to make sure it adheres well to the pouch. If you notice any air bubbles, use a plastic card or cloth to push them toward the edges until they disappear.
Want To Print Something?
7. Double-Check the Alignment
After the label is applied, take a step back and check that it is straight and centered. If the label is slightly misaligned, you may be able to peel it off gently and reposition it, but this depends on the adhesive strength of your labels.
If the label looks fine, press down firmly along the edges to ensure it’s completely stuck. This final press helps the label stay in place, even when the pouch is handled or shipped.
8. Repeat the Process for Multiple Pouches
If you are labeling multiple stand-up pouches, follow the same steps for each one. It might help to set up a small production line or a jig for doing each step in batches. For example, clean all the pouches first, then mark the placement on all of them, and so on.
This method helps speed up the process and ensures that each pouch is labeled consistently.
9. Using Alignment Tools for Extra Precision
If you’re concerned about getting your labels perfectly aligned on each pouch, you can use simple tools to help. A straight-edge ruler or a piece of masking tape placed on the table at the right height can act as a guide for the bottom of the pouch. This ensures that each pouch is positioned in the same place before you apply the label.
You can also use a label applicator tool designed for manual use, which holds the pouch in place and helps you apply the label evenly. These tools are especially helpful if you’re working with large batches of pouches.
10. Check for Consistency
After labeling a few pouches, step back and look at them together. Make sure the labels are applied evenly and that they all look the same. Consistency is key to maintaining a professional appearance, especially if you are selling products in stores or online.
If you notice any labels that are off-center or have bubbles, you can remove and reapply them before they set. Being mindful of the details at this stage can save you time and trouble later.
Bottom Line is
Manually applying labels to stand-up pouches can be an easy and efficient process when done with care. By following the steps outlined above, you can ensure that your labels are applied neatly and consistently, giving your product a professional and polished look. With practice, you’ll become more efficient, and your results will look just as good as machine-applied labels.
Want To Print Something?


