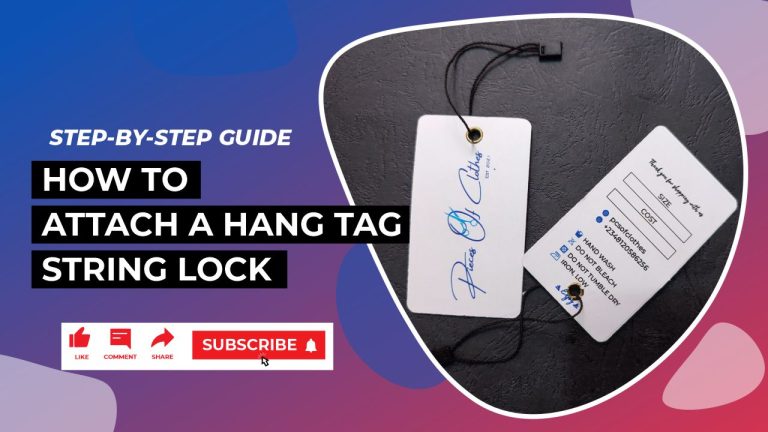
As a small business owner, the presentation of your products can make all the difference in capturing the attention of potential customers. One often overlooked, yet highly impactful, element of product branding is the hang tag. These small but mighty accessories can elevate the perceived value of your merchandise, provided they are properly secured and maintained throughout the sales process.
Hang tag string locks are an essential tool for ensuring your branding stays intact. Without a secure attachment method, your carefully crafted hang tags are susceptible to becoming detached, leaving your products vulnerable to losing their professional appeal. This not only undermines your brand image but can also result in the loss of important product information that helps inform and guide your customers.
Table of Contents
ToggleHow to Attach a Hang Tag String Lock: Step-by-Step Guide
Let’s walk you through the simple yet effective process of attaching hang tag string locks, empowering you to elevate the presentation of your merchandise with confidence. Whether you’re a seasoned business owner or a DIY enthusiast, these step-by-step instructions will ensure you can easily and efficiently secure your hang tags, no matter the size or material.
Gather Your Supplies
Before we begin, make sure you have the necessary supplies on hand: your hang tags and the accompanying strings or cords. These essential components will be the foundation for creating a polished, professional look for your products.
Step 1: Thread the String Through the Hang Tag
Start by taking one of the strings and carefully passing it through the designated hole in the hang tag. Ensure the string is centered and positioned securely within the tag, as this will provide a stable foundation for the next steps.
Step 2: Locate the String Lock
Examine the string closely and you’ll notice a small, often cylindrical, component that resembles a lock. This is the key to securing your hang tag in place. Identify the opening where the string will be inserted to create the locking mechanism.
Step 3: Insert the String into the Lock
Gently guide the string through the opening of the lock, ensuring it slides in smoothly. Apply a gentle amount of pressure to fully seat the string within the lock, creating a secure and sturdy connection.
Step 4: Tighten and Adjust the Lock
Once the string is inserted, you may need to tighten the lock to ensure a snug fit. Gently manipulate the lock, applying light pressure, until you feel it firmly grip the string. This will prevent the hang tag from becoming loose or detached during transportation and display.
Repeat and Refine
Repeat the process for each of your hang tags, taking care to maintain consistency in the placement and tightness of the locks. As you become more experienced, you may find subtle adjustments or techniques that work best for your specific products and hang tag materials.
Want To Print Something?
By mastering the art of hang tag string lock attachment, you’ll be able to elevate the overall presentation of your products, instilling a sense of professionalism and attention to detail that can make all the difference in the eyes of your customers. Properly secured hang tags not only protect your branding but also demonstrate your commitment to quality and attention to the small details that can make a big impact.


